


Your Very Own Art Gallery
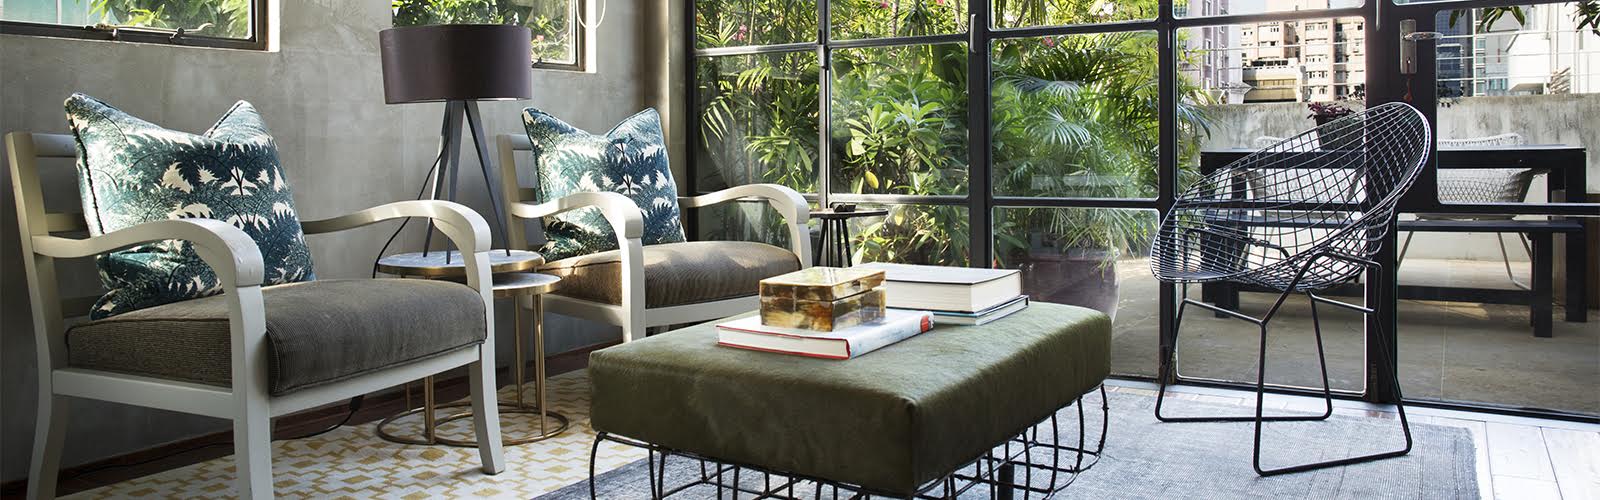
Gallery walls may be all the rage on Pinterest, but nailing them without hammering moonlike craters on your walls is easier said than done. Follow these four tips to hang your gallery wall like a pro.
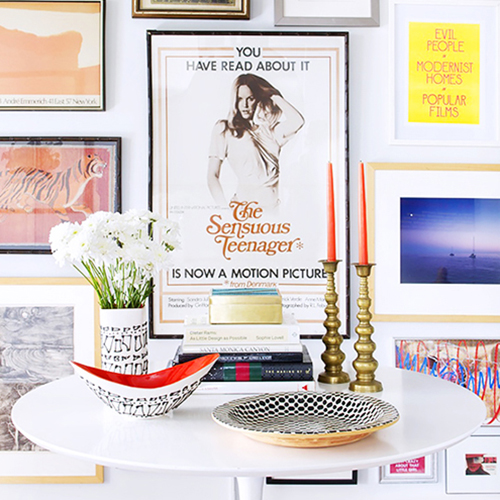
MIX WITH FINESSE
There should be a subtle cohesion between the artwork you choose— whether it’s a color palette, types of framing, size or artwork or historical period, but you don’t want to be too matchy-matchy. If you’re going for very different types of art, choose similar frames for example. Conversely, if you’re hanging black & white photography exclusively, consider breaking it up with one or two colorful prints. And if you’re hanging your children’s artwork gallery style, have fun with different frames!
PLAN AHEAD
Before you start hammering holes in your wall with abandon, lay your artwork on the floor and arrange the composition of your gallery wall. You can also cutout the artwork shapes in kraft paper and tape them to the wall to see the overall effect. The better you plan, the better the result.
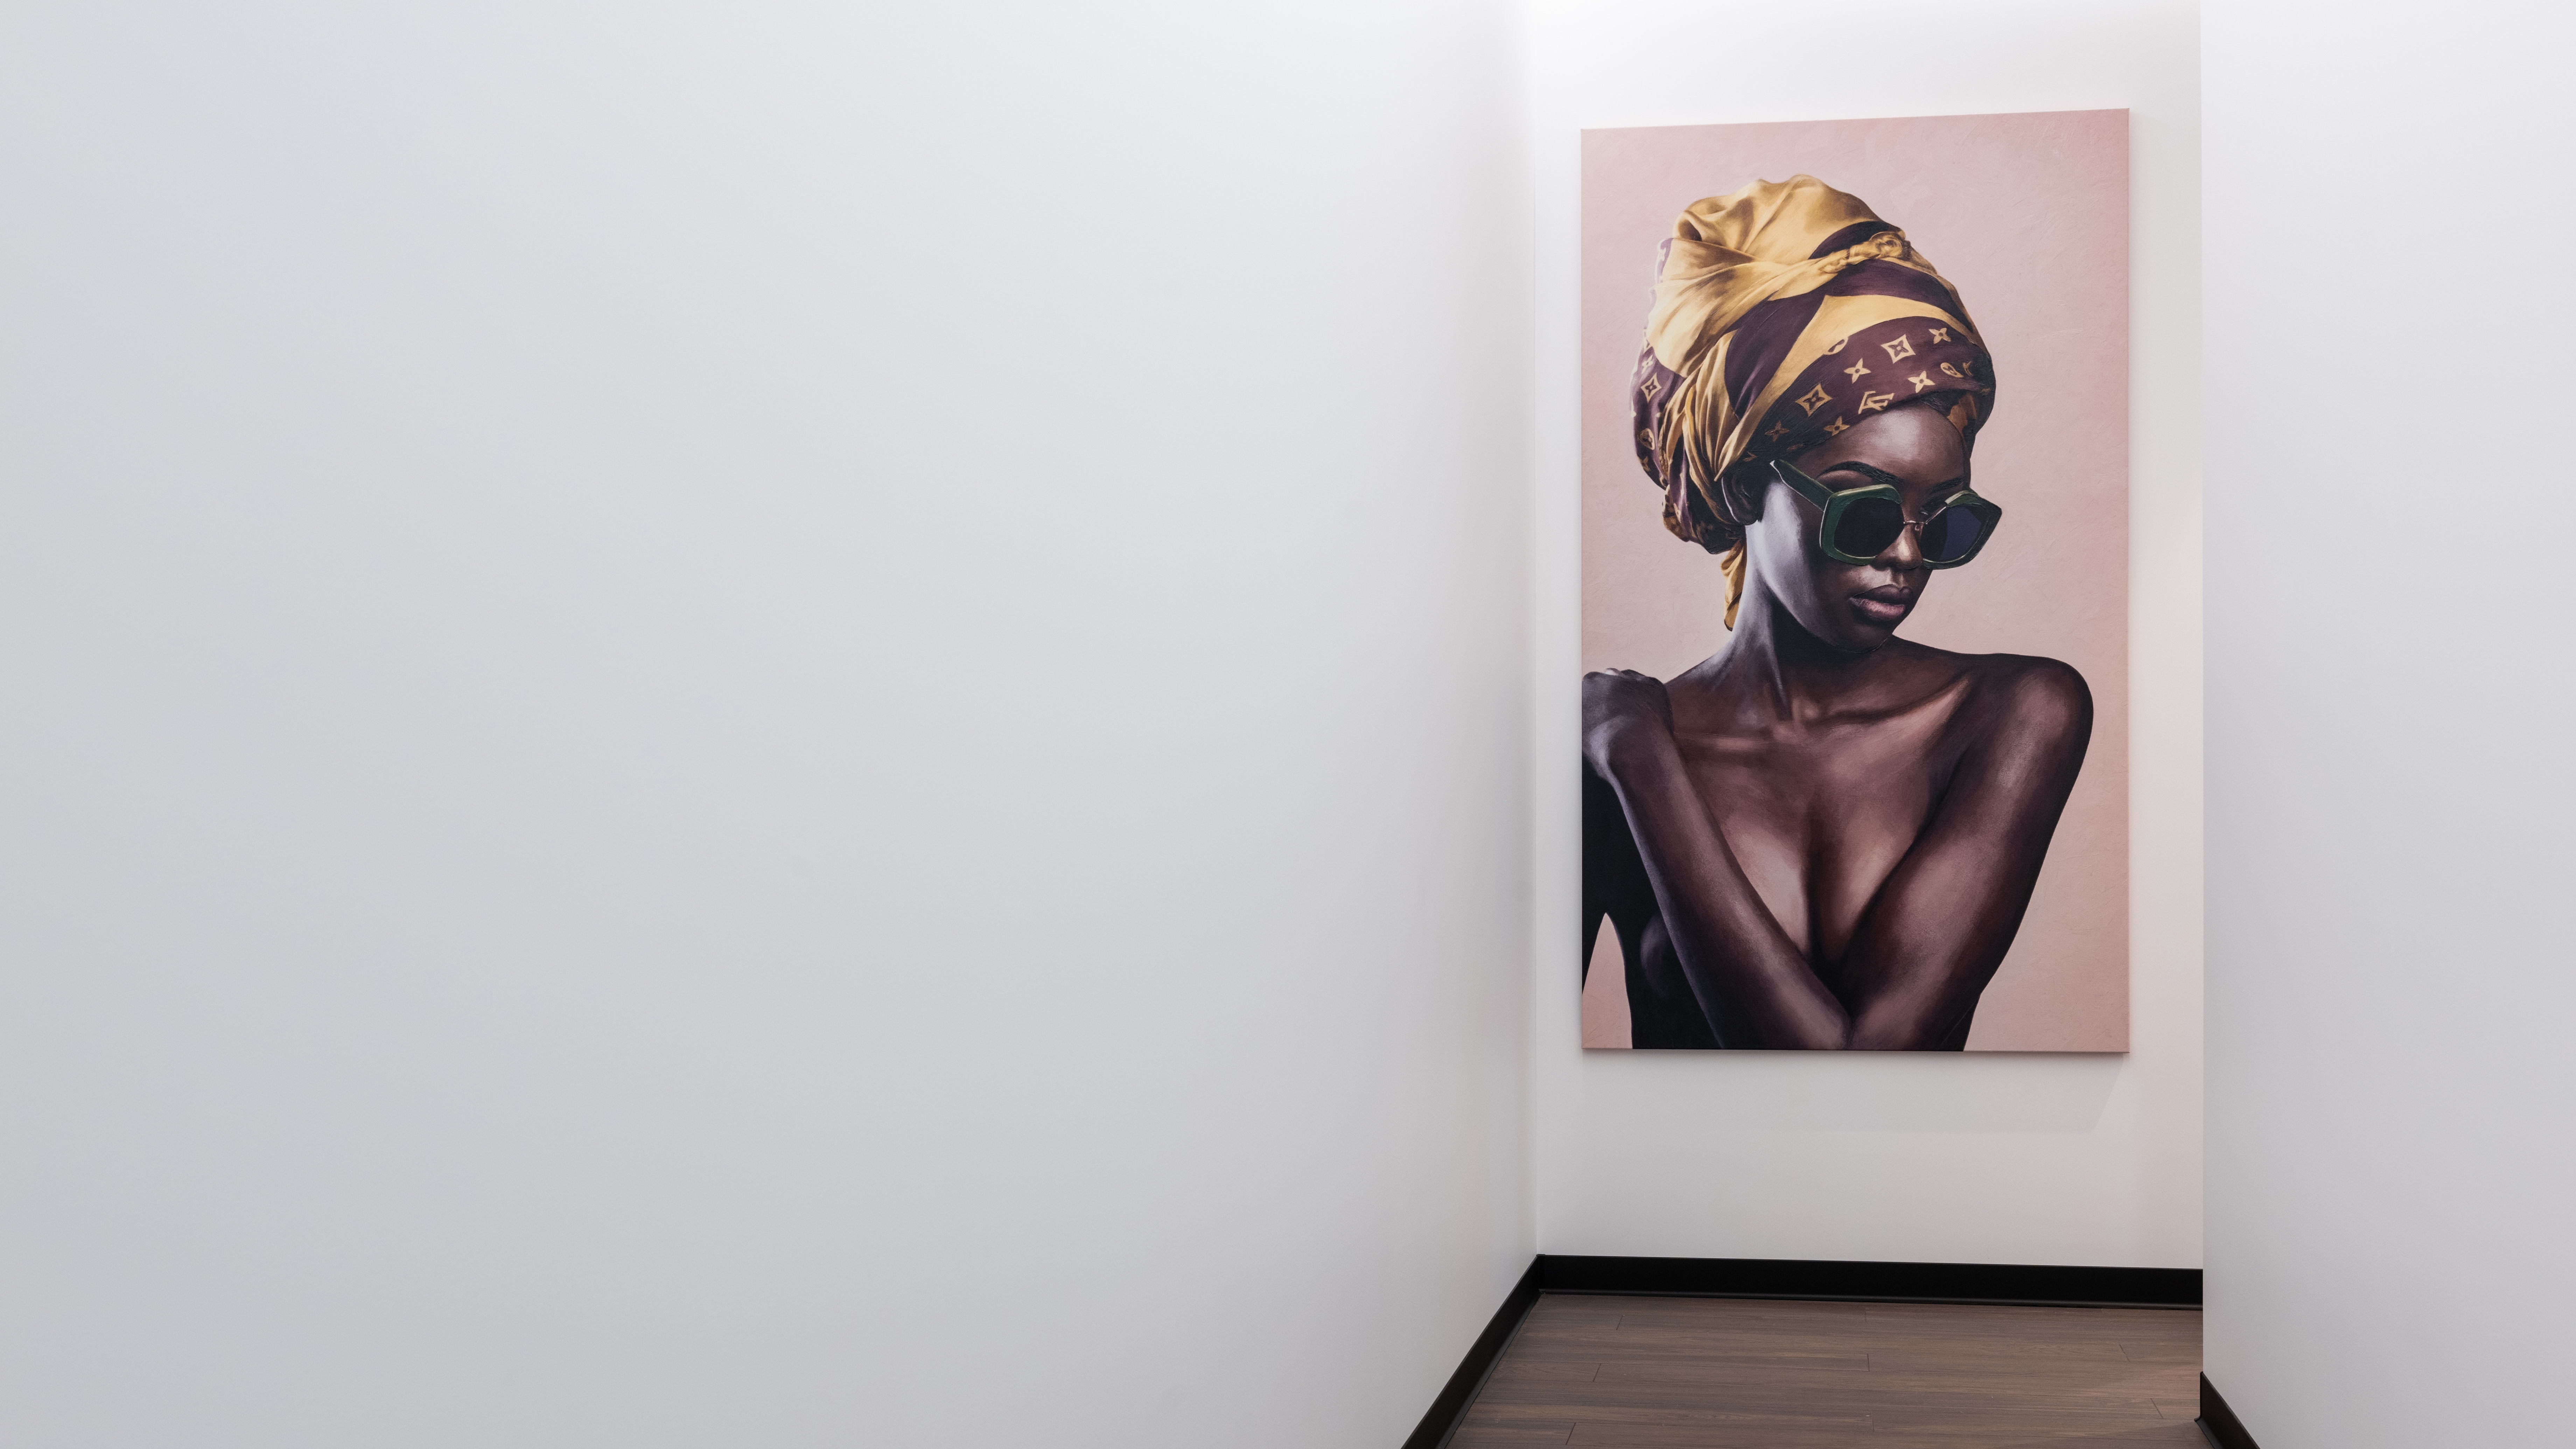
LET IT BREATHE
Don’t hang all your artwork tightly in a bunch (unless you’re Kristen Buckingham). Let the gallery wall breathe by leaving plenty of white space around the artwork. Start with hanging your first piece so that the bottom of the frame starts somewhere between your waist and chest. You’ll be able to enjoy each piece better if they’re at eye level.
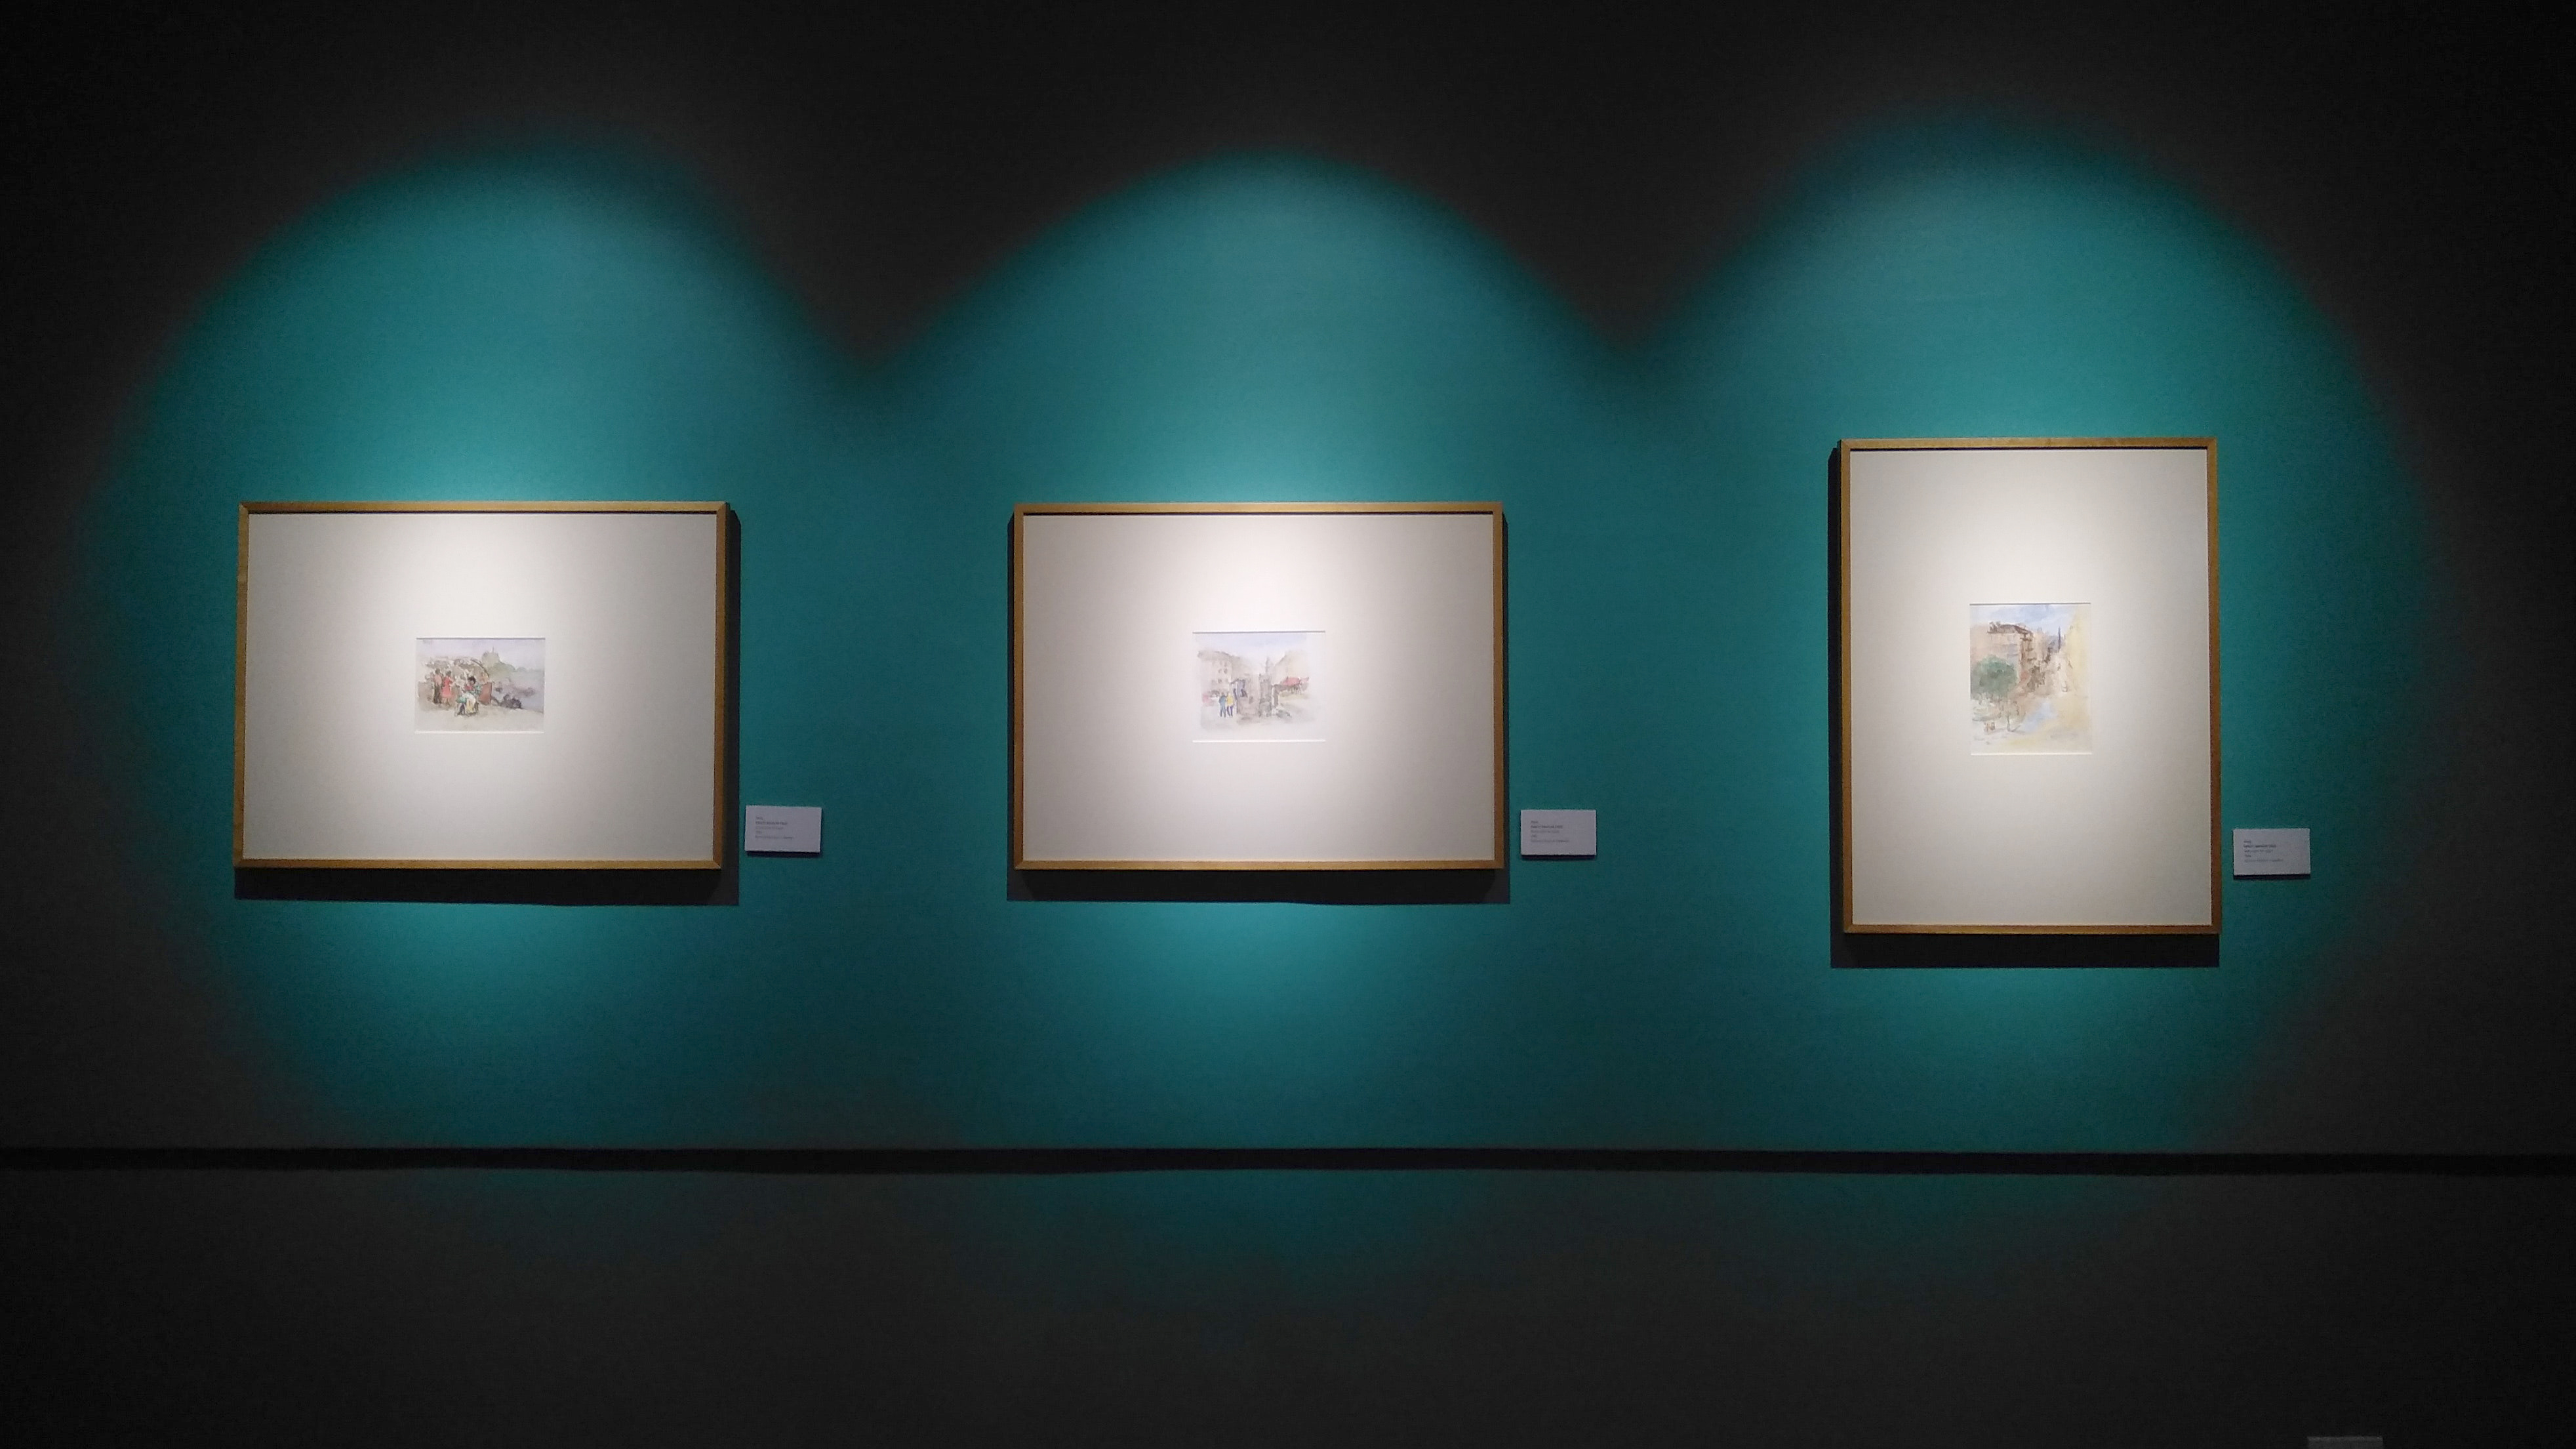
SECURE YOUR WORK
If you own valuable artwork and want to go the extra mile to have a professionally installed gallery wall, consider picture hanging systems that doesn’t use any nails. These can be mounted behind moldings and can allow you to interchange your gallery wall at your heart’s leisure. More importantly, they come with anti-theft hardware so you can be at ease that your gallery wall is secure.
By: Savvy Home Blog